In March I told you about Microsoft OneNote’s free release for Mac OS X and iOS. Since that time, I’ve gotten far more into using the application and I must say, it’s a perfect note-taking tool that lets you keep your content synchronized across all devices. Using the app effectively is easier thanks to continuing improvements to the design.
Not Sure You Want OneNote?
Check out Microsoft OneNote from the Mac App Store and look at the screenshots. This notebook is quite powerful, with full rich text, images, controls like checkboxes and much more to make it the perfect companion for basic project work. No, it’s not a replacement for a powerful CRM or other SFA tool. It’s not Excel or Word. It is a synchronized notebook, and it’s a pretty good one at that.
Today’s post walks through adding a new synchronized notebook, then adding a page and forcing a synchronization.
Make sure you have a Microsoft account, such as a live.com email address. You can create an email account for that domain by clicking here.
Once you have that account and you’ve installed OneNote, walk through these steps.
Make a new Notebook


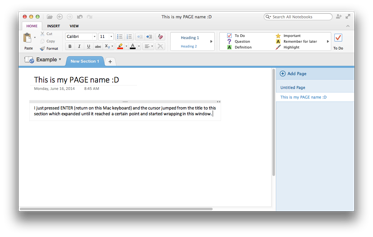
Add a Page
Click the (+) on the right side of the box, or use the File menu.

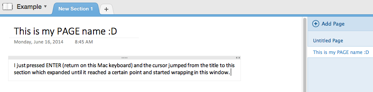
Name the Page
Click above the day of week, date and time then type a page name. It will appear in the blue column at right.
Rename the Section Tab
Just double-click the tab and type.

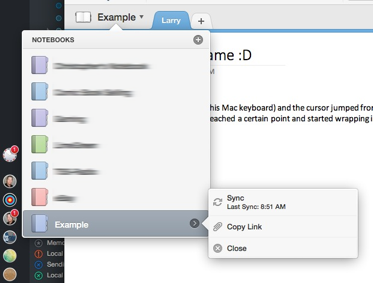
Synchronize
Click the notebook name, then scroll down to the name (again, kind of redundant, right?), click the > and select Sync.
UP NEXT
This week we’ll explore how to open this Notebook “Example” on another Mac and on an iPad Mini.
Thanks for reading!
No comments:
Post a Comment